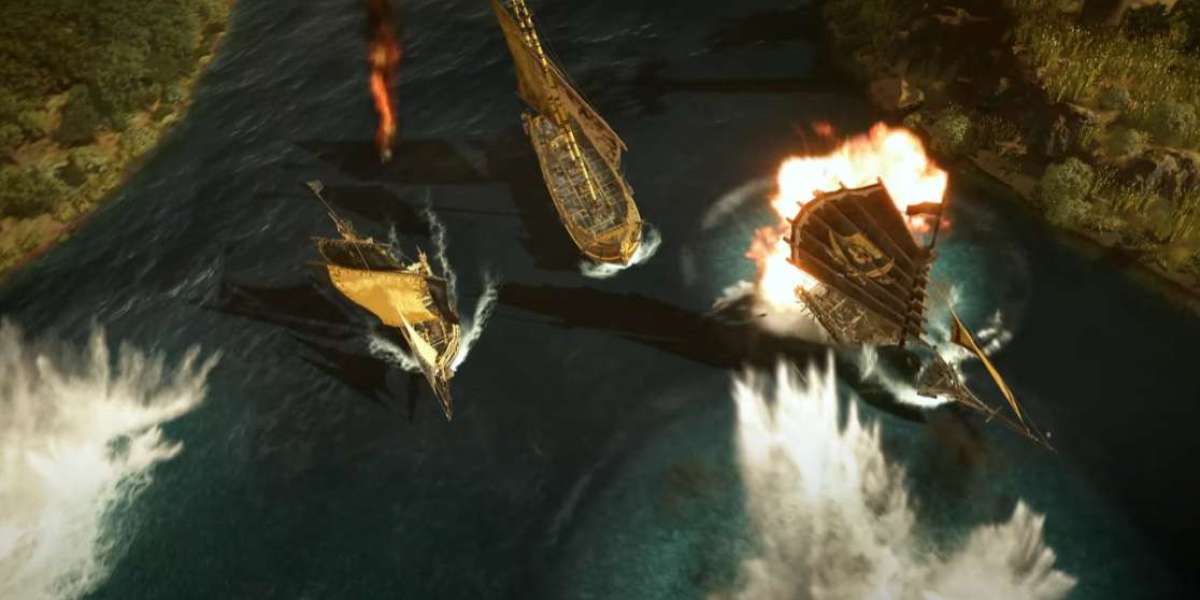
If you're looking to turn the seas into your personal graveyard of flaming, sinking ships, then welcome aboard Skull and Bones Items. This is the ultimate torpedo build in Skull and Bones, designed for high damage, flooding control, and explosive mayhem. Whether you're solo hunting or dominating enemy fleets, this build will deliver devastating results.
In this guide, we'll break down every detail of the build-from weapons and armor to furniture bonuses and ship selection. We'll also talk about damage mechanics, combat strategy, and why this setup turns your schooner into a floating nightmare. Let's dive in.
Build Overview: Why Torpedoes?
This build is centered around rapid-firing, high-damage torpedoes that apply status effects like flooding, sunder, and electric damage-completely locking down enemy ships and melting their armor.
With stacked explosive modifiers, torpedoes not only deal direct damage but also amplify secondary effects like flooding and shock, making it nearly impossible for enemy ships to escape or retaliate.
Core Ship Setup
Ship: The Schooner
This torpedo monster is built on the Schooner, and for good reason:
+50% Damage to Structures
+30% Weak Point Damage Taken Debuff (to enemies)
20% Chance to Trigger Fury on Weapon Hit
+20% Broadside Weapon Damage During Fury
All Front/Broadside Weapons Get +20% Explosive Damage
-10% Explosive Weapon Reload Time
These bonuses are tailor-made for explosive torpedoes, making the Schooner the ideal platform for this strategy.
Weapon Loadout
You're going to rotate three main weapon types on your front cannons, all centered around explosive and status-based damage.
1. D.A.C.A. Torpedoes
"Like an ancient sea serpent, these torpedoes burn holes through multiple ships."
Damage: 1,955
Specials:
Sunder (reduces enemy armor by 200 for 10s)
Pierces multiple ships
+100% speed when armed
Perks:
Combustion
Amplified Explosive ×2
Purpose: Armor shredding + chain explosion damage.
2. Heavenly Lance
"Shimmering scales of death that electrify and flood enemies."
Damage: 2,460
Status:
Electric Damage (3)
Flooding (2)
Perks:
Combustion
Amplified Explosive
Long Arm
Purpose: Apply status effects (flood + electric), long-range control.
3. Endless Requiem
"Homing torpedoes that are difficult to dodge and built to kill."
Damage: 1,714
Special: Seeking Target Lock
Perks:
Combustion
Raider
Deathblow
Purpose: Target-seeking finishing move and high DPS follow-up.
Auxiliary, Armor, and Heart
Auxiliary: Little Grace III
Rapid Reload
Restorative (for crew regen)
Empower (boosts damage and stamina recovery)
Ship Heart: Nocturn Heart
Euphoria:+15% Weapon Damage while above 75% HP
Armor Ratings
Explosive Resistance: 30%
Flooding Resistance: 30%
Electric Resistance: 35%
Fire: 20%
Piercing: 10%
Sails: 0% (very vulnerable to sail hits)
This setup is offensive-focused, so be cautious against piercing-heavy enemies and sail damage.
Furniture Bonuses
Furniture boosts your torpedoes to ludicrous levels. Here's what you'll need:
Village Fire Barrels
5% chance to fully refresh damaging status effects on weapon hits
+10% secondary broadside weapon damage
Tuning Station I
+20% torpedo secondary damage
+13% torpedo projectile speed
+10% crew stamina regen out of combat
Expanding Corkscrew Station
+12% secondary flooding weapon damage
+8% flooding weapon range
Torpedo Works I
+19% secondary torpedo damage
Rabid Workshop
-7% broadside reload time
+7% secondary broadside damage
Copper Fashioning Station
+12% secondary electric weapon damage
+8% electric weapon range
With these stacked, your torpedoes are fast, far-reaching, and status-spamming nightmares.
Combat Strategy: How to Use the Build
Here's how to maximize your ship's firepower in actual combat:
1. Engage at Range
Open with Heavenly Lance to apply flooding and electric.
Once a ship is flooded, it can't move, making it a sitting duck.
2. Cycle Torpedoes
Alternate between D.A.C.A. and Endless Requiem.
Fire while circling the enemy or keeping your broadside aligned.
3. Stay Empowered
Activate Empower from the auxiliary when possible.
Stay above 75% HP to trigger Nocturn Heart's 15% damage bonus.
4. Exploit Fury Triggers
Your torpedo hits have a 20% chance to trigger Fury.
During Fury: +20% broadside damage, stacking with explosive perks.
5. Keep the Buoy Popped
Use the Buoy skill or healing items to stay in the fight.
Most fights will end in seconds if you chain your explosions right.Damage Showcase & Performance
In actual gameplay testing:
Damage per torpedo volley: ~6,000+
Flood + Electric disable enemies in seconds
Soloing enemy ships takes under 15 seconds
Group fights are manageable, but other players buff enemy stats
The build shines in 1v1 engagements or when leading small squad fights. Your torpedoes can pierce, disable, and finish enemies before they even line up a shot.
Build Variants & Extras
The creator teased a second version of this build using fully homing torpedoes for those who prefer target-seeking consistency. Let him know in the comments if you're interested in that breakdown.
Weaknesses & Considerations
No build is perfect. Here are the caveats:
Low sail defense (0%): You're very vulnerable to mobility hits.
Piercing Resistance is low (10%): Avoid going toe-to-toe with piercing-heavy ships.
Aggro scaling: When other players join the fight, enemy ship defense increases, slowing your kill time.
Final Thoughts
This torpedo build is a masterclass in status effect stacking and explosive synergy. With careful aim and rotation, you'll:
Flood ships so they can't escape
Strip armor with sunder
Zap them with electric shock
And blast them to bits with explosive torpedoes
It's fun, chaotic, and brutally effective.
Whether you're hunting solo or coordinating with a fleet, this torpedo build is your ticket to absolute carnage. Just aim, fire Skull and Bones Items for sale, and watch enemy ships dissolve into wreckage.


