Projector brightness is one of the most critical factors in achieving a clear, vibrant, and immersive viewing experience. Whether you are setting up a home theater, gaming room, classroom, or professional presentation space, understanding how projection throw distance impacts brightness is essential. Proper planning of short throw projector distance and knowing how far the projector should be from the screen ensures optimal light output and image clarity.
Why Distance Affects Brightness
Projection throw distance, the distance between the projector lens and the screen, directly influences the intensity of light reaching the screen. The further the projector is from the screen, the more the light spreads out, resulting in reduced brightness and lower contrast. Conversely, positioning the projector too close can cause hotspots and uneven light distribution.
Short throw projectors are particularly sensitive to throw distance because they project large images from minimal distances. Calculating the ideal projection throw distance ensures the image remains bright, evenly lit, and clear across the entire screen.
Understanding Lumen Output
Projector brightness is measured in lumens. While higher lumen projectors naturally produce brighter images, proper placement is equally important. Even a high-lumen projector can appear dim if the throw distance is incorrect or if ambient light interferes with the projection.
For example, a projector rated at 3000 lumens may appear vibrant on a small screen at a short throw distance but dim on a large screen if the projector is placed too far away. Calculating the correct short throw projector distance ensures that all the projector’s lumens are efficiently used to illuminate the screen.
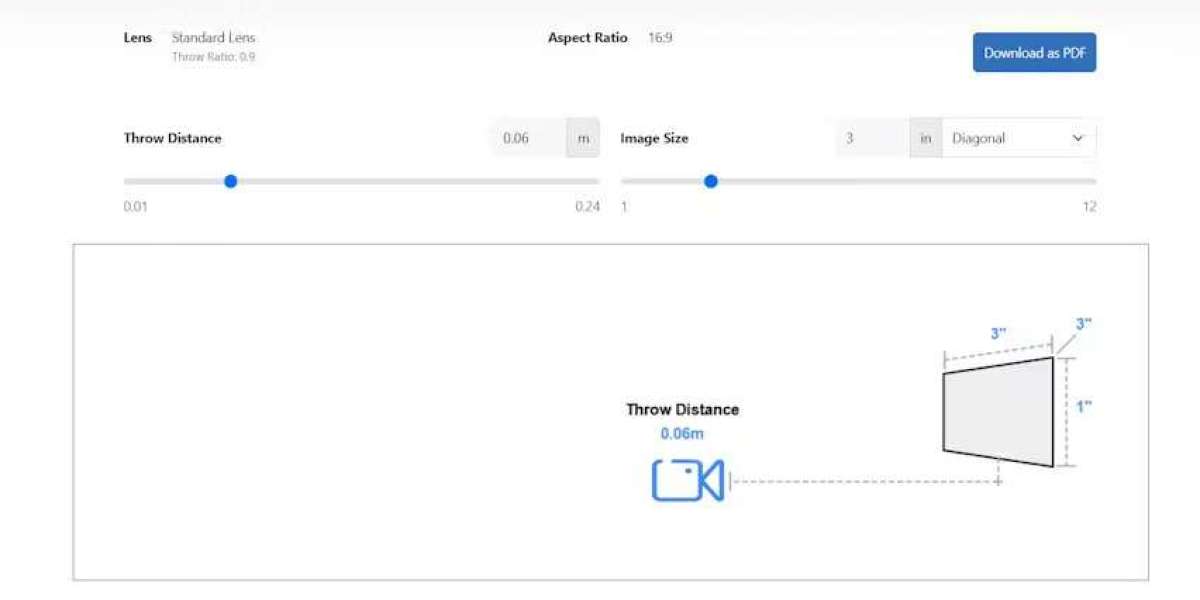
Calculating the Ideal Projection Throw Distance
To maximize brightness, follow these steps:
Measure Screen Width: Determine the width of your screen or projection area. Larger screens require careful attention to distance to maintain uniform brightness.
Check Throw Ratio: Use the projector’s throw ratio to calculate how far the projector should be from the screen. The formula is:
Throw Distance = Throw Ratio × Screen Width
Adjust for Screen Gain: Screens with higher gain reflect more light, allowing the projector to be positioned slightly farther without losing brightness. Low gain screens may require a shorter throw distance.
Consider Ambient Light: Reduce room light or use blackout curtains to enhance perceived brightness.
By combining these factors, users can achieve a balance between image size and brightness for optimal viewing.
Placement Tips for Maximizing Brightness
Center the Projector: Align the projector with the screen horizontally and vertically. Misalignment can cause light to fall unevenly, reducing perceived brightness.
Use Lens Shift: Lens shift allows fine adjustments without moving the projector physically, helping maintain proper short throw projector distance while maximizing brightness.
Avoid Obstructions: Ensure furniture, audience members, or other devices do not block the projector beam.
Integrate Ultra Wide Monitors Carefully: For setups that combine projectors and ultra wide monitors, ensure that the monitors do not interfere with the projector’s light path, maintaining even brightness across the screen.
Optimizing Brightness in Different Environments
Home Theaters: Dim or eliminate ambient light and select a high-gain screen to maximize brightness at the calculated throw distance.
Gaming Rooms: Short throw projectors allow large images in limited space, but maintaining proper distance ensures brightness and reduces motion blur in fast-paced games.
Classrooms and Offices: Bright environments require higher lumen projectors and accurate projection throw distance calculations to maintain visibility and engagement.
Outdoor Cinema: For large outdoor screens, maintaining the correct throw distance is crucial for consistent brightness. Consider high-lumen projectors and reflective screens to compensate for ambient light.
Common Mistakes to Avoid
Placing the Projector Too Far: Excessive distance reduces light intensity, making the image appear dim and washed out.
Ignoring Screen Gain: Low-gain screens require the projector to be closer to maintain brightness.
Overreliance on Digital Brightness Controls: Adjusting projector settings alone cannot compensate for incorrect placement and distance.
Neglecting Focus and Alignment: Misfocused or misaligned images reduce perceived brightness even if the projector is powerful.
Testing and Fine-Tuning
After positioning the projector at the calculated short throw projector distance, test the setup:
Project a bright, full-screen image to check for uniformity.
Adjust lens shift and zoom to ensure the image fills the screen correctly.
Measure brightness at different viewing angles to confirm consistency.
Make small adjustments to projector distance if necessary, ensuring maximum lumen utilization without distortion.
Final Thoughts
Maximizing brightness in a projector setup requires more than choosing a high-lumen projector. Proper calculation of short throw projector distance, consideration of screen gain, and knowledge of how far the projector should be from the screen are key to achieving a clear and vibrant image.
Combining these factors with careful placement, lens shift adjustments, and ambient light control ensures that your projected images are bright, evenly lit, and immersive. Whether for home theaters, gaming rooms, classrooms, or professional installations, optimizing throw distance is a critical step in creating the best viewing experience possible.
Read more: https://community.wongcw.com/blogs/1165422/Setting-Up-Multi-Projector-Systems-Throw-Distance-Tips