Are you ready to dive into the colorful world of easy nail art? Whether you’re prepping for a night out or just want to add a little flair to your everyday look, nail art can be a fun and creative way to express yourself. And the best part? You don’t need to be a professional to achieve stunning results! Let’s explore some trendy and quick nail art ideas that even a beginner can master.
Why Nail Art?
Nail art is more than just a pretty design on your fingertips; it’s a form of self-expression! Think of your nails as a blank canvas just waiting for you to unleash your creativity. Plus, who doesn’t love the feeling of freshly painted nails? It's like a little boost of confidence every time you catch a glimpse of them!
The Basics of Nail Art
Before we jump into the fun stuff, let’s cover some basics. You’ll need a few essential tools and products:
Nail Polish: Choose a base color and topcoat. You can also get creative with different shades for designs!
Nail Art Brushes: These are essential for detailed designs.
Dotting Tools: Perfect for creating those cute polka dots.
Tape: Great for making clean lines and geometric designs.
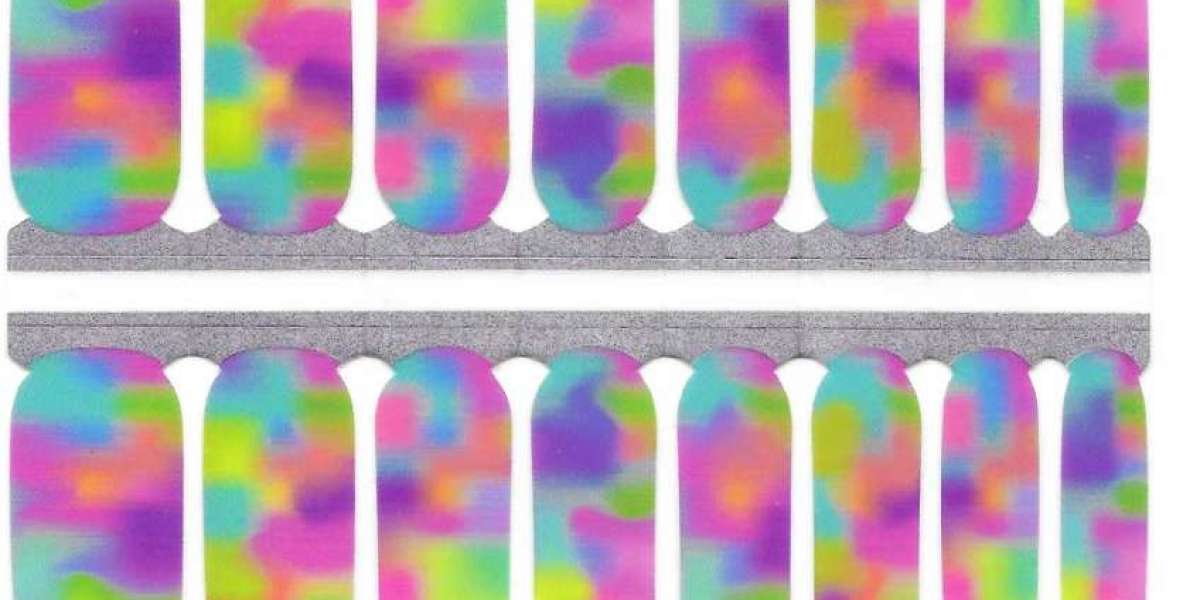
Nail Stickers or Decals: These can be a lifesaver for quick designs!
Trendy Easy Nail Art Ideas
Let’s get those creative juices flowing! Here are some trendy and easy nail art looks you can try at home.
1. Polka Dot Paradise
Polka dots are classic and never go out of style! To achieve this look, simply use a dotting tool or the end of a bobby pin.
How to Do It:
Start with a base coat of your favorite color.
Once dry, dip the dotting tool into a contrasting polish and create dots on your nails.
Finish with a topcoat for a glossy finish!
2. Stripes and Lines
Stripes can add a chic and sophisticated touch to your nails. You can go for thin lines or bold stripes; the choice is yours!
How to Do It:
Apply a base coat and let it dry.
Use tape to create your desired stripe pattern.
Paint over the tape with another color and remove it while the polish is still wet for clean lines.
3. Ombre Effect
The ombre effect is a gradient look that’s super trendy. It’s like a sunset on your nails!
How to Do It:
Start with a base coat.
Choose two complementary colors and apply them side by side on a makeup sponge.
Dab the sponge onto your nails to blend the colors together.
4. Floral Designs
Nothing says spring like floral nails!
How to Do It:
Start with a light base color.
Use a fine brush to create flower petals with a contrasting color and add dots for the center.
Don’t worry about perfection; the beauty of flowers is in their uniqueness!
5. Glitter Glam
Who doesn’t love a little sparkle? Glitter nails are perfect for parties or just when you want to feel extra fabulous.
How to Do It:
Apply a base coat and let it dry.
Use a glitter polish to cover the entire nail or just the tips for a fun twist.
Finish with a topcoat to seal the sparkle!
Tips for Success
Practice Makes Perfect: Don’t get discouraged if your first attempt doesn’t turn out as expected. Keep practicing!
Watch Tutorials: YouTube is a treasure trove of nail art tutorials. Find a style you love and learn from the pros.
Be Patient: Allow each layer to dry completely before moving on to the next step.
Have Fun: Remember, this is all about expressing yourself. Let your personality shine through your designs!
Conclusion
Nail art doesn’t have to be complicated or time-consuming. With a little creativity and practice, you can achieve beautiful designs right at home. So grab your nail polish, gather your tools, and get started on your nail art journey today! Who knows, you might just discover a new favorite hobby!