
Unlock Pure Water Bliss: Discover the Secrets of Countertop RO Filters!
In an age where clean drinking water is paramount, understanding water filtration systems has never been more crucial. Water is the essence of life, and ensuring its purity directly impacts our health and well-being. One of the most effective technologies for purifying water is Reverse Osmosis (RO). This method uses a semi-permeable membrane to remove contaminants, making it a preferred choice for many households. Countertop RO water filters bring this advanced technology into our kitchens, offering a convenient and efficient solution for obtaining clean, safe drinking water right from the tap.
Understanding Countertop RO Water Filters
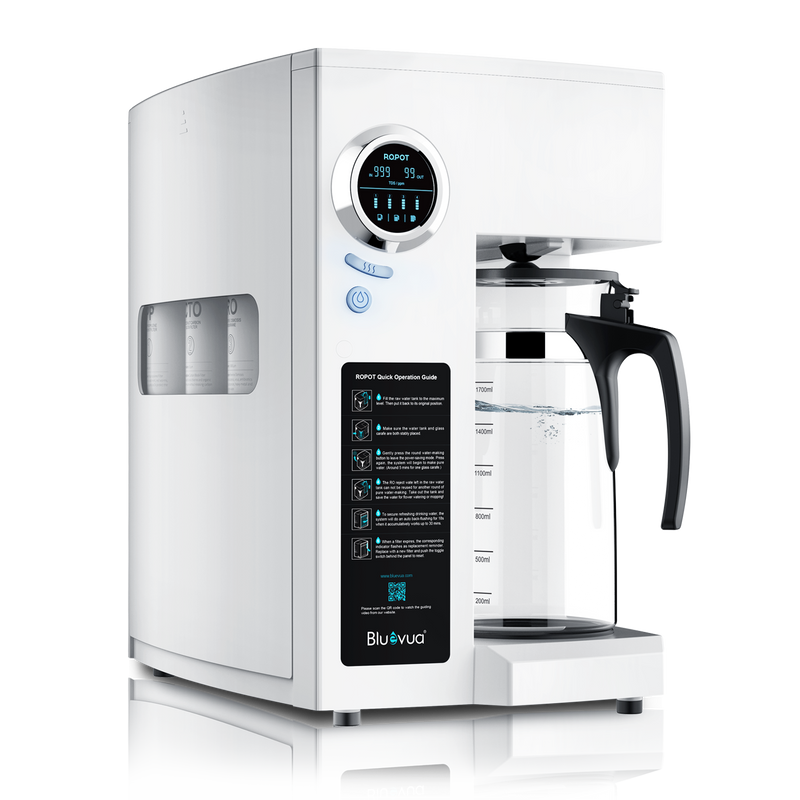
Countertop RO water filters are designed to provide a continuous supply of purified water through a straightforward process. The heart of this system lies in the reverse osmosis technology. When water enters the filter, it first passes through a pre-filter that removes larger particles and sediments. Following this, the water is forced through a semi-permeable membrane that blocks contaminants such as lead, chlorine, and other impurities, allowing only pure water molecules to pass through. After this process, the water typically goes through a post-filter, which further enhances its taste and quality. The entire filtration system usually involves several components, including the faucet, filter cartridges, and a storage tank, all working harmoniously to deliver clean water. This method not only purifies but also retains essential minerals, ensuring that the water remains healthy and refreshing.
Benefits of Using Countertop RO Filters
The advantages of countertop RO filters extend far beyond just having access to clean water. One of the most significant health benefits is the removal of harmful contaminants from drinking water. Studies have shown that RO systems can eliminate up to 99% of toxins, including heavy metals, bacteria, and viruses, thus safeguarding our health. Additionally, many users report a noticeable improvement in the taste and odor of their water, making hydration more enjoyable. From a practical standpoint, countertop RO filters are incredibly convenient. They do not require extensive plumbing modifications and can be easily set up on any kitchen countertop. Another advantage is their cost-effectiveness; while the initial investment may seem high, the long-term savings on bottled water and health-related costs are substantial. Furthermore, by reducing the reliance on plastic bottles, these filters contribute positively to the environment, supporting a more sustainable lifestyle.
Installation of Countertop RO Filters
Installing a countertop RO water filter is a straightforward process that can be accomplished with minimal tools. Here’s a step-by-step guide to help you through the installation. First, gather the necessary tools: an adjustable wrench, a screwdriver, and possibly a drill if you need to create a hole for the faucet. Begin by selecting a suitable location on your countertop, ensuring it’s near a water source and a power outlet if needed. Next, follow the manufacturer’s instructions to connect the filter to your faucet. This usually involves attaching an adapter to your faucet and securing the filter unit. Once everything is connected, turn on the water to check for leaks, and allow the filter to flush out any carbon dust or impurities for a few minutes. Regular maintenance is also crucial to ensure the longevity and efficiency of your filter; this typically involves replacing the cartridges every six months to a year, depending on usage. Keeping the system clean not only enhances performance but also guarantees the purity of your drinking water.
Common Questions and Answers
As with any home appliance, potential users often have questions regarding countertop RO filters. One common query is about their lifespan; with proper maintenance, these filters can last several years. Users also frequently ask about the cost of maintenance. While filters do require periodic cartridge replacements, the overall cost is usually offset by the savings on bottled water and health-related expenses. Another common concern is how countertop RO systems compare to other filtration systems. Generally, RO filters are considered more effective, particularly for removing dissolved solids and contaminants that other systems might miss. Understanding these aspects can help users make informed decisions about their water filtration needs.
Final Thoughts on Countertop RO Filters
In summary, countertop RO water filters represent a reliable and efficient solution for obtaining clean, safe drinking water. By understanding their functioning, benefits, installation process, and addressing common concerns, users can appreciate the value these systems offer. Investing in a countertop RO filter not only enhances your drinking water quality but also supports better health and environmental practices. As you consider your water quality and filtration needs, remember that a clean water source is the foundation of a healthy lifestyle.