

Transform Your Kitchen: Unlock the Secrets to Installing a Stunning Stove Hood!
In the heart of every home, the kitchen stands as a central hub for family gatherings and culinary creativity. A stove hood not only enhances the aesthetic appeal of your kitchen but is also essential for maintaining air quality and reducing odors. Installing a stove hood can transform your cooking experience by removing smoke, steam, and grease from the air, leading to a more pleasant atmosphere. In this article, we will explore the process of installing a stove hood, covering everything from the different types available to the tools and steps required for a successful installation. Whether you're a seasoned DIY enthusiast or a beginner looking to improve your kitchen, this guide will provide you with the insights you need to tackle this project with confidence.
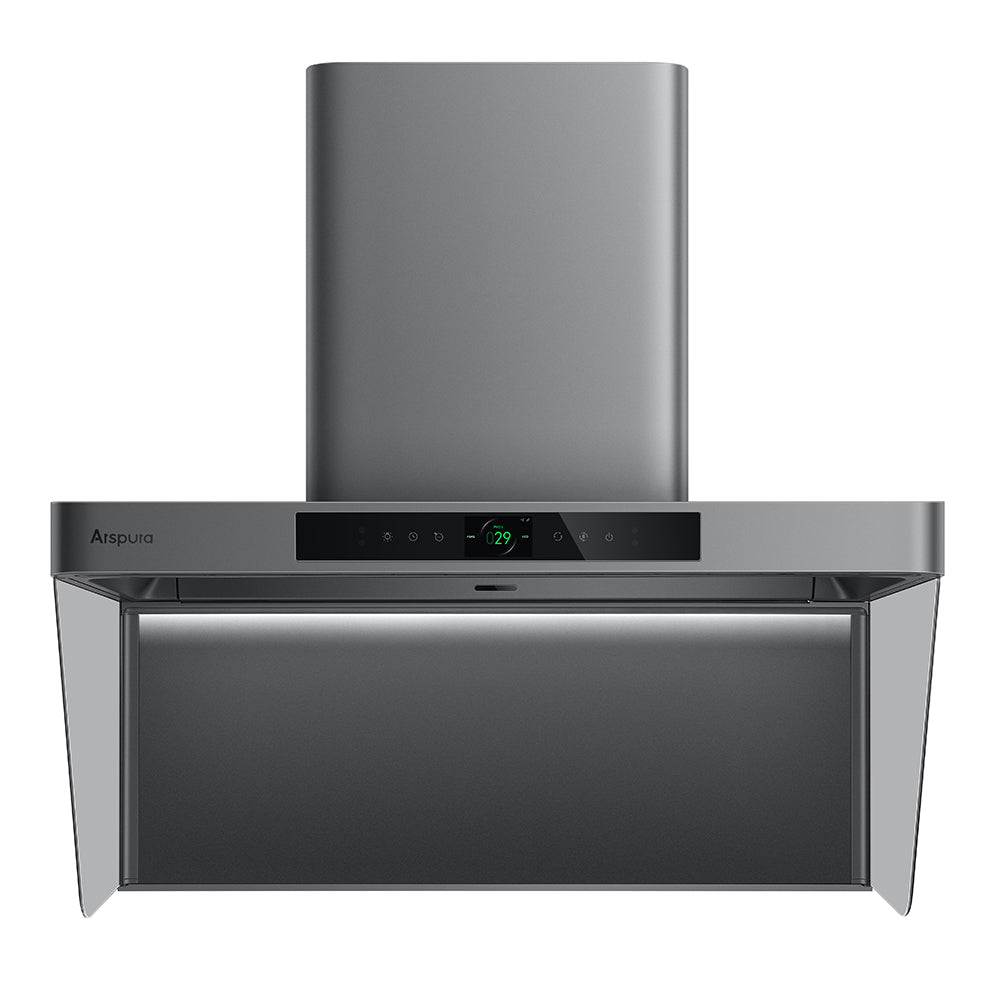
Understanding the Basics of Stove Hoods
When it comes to stove hoods, there are several types to consider, each with its unique benefits and styles. Wall-mounted hoods are popular for their sleek look and efficiency, while under-cabinet hoods are perfect for smaller spaces. If you have a kitchen island, an island hood can be a stunning focal point. When choosing a stove hood, consider factors such as the size of your stove, the style of your kitchen, and the ventilation options available. For instance, if your kitchen lacks outside access for ducting, a recirculating hood may be the best choice. Take the time to assess your cooking habits and kitchen layout to select the hood that fits your needs perfectly. A friend of mine once renovated her kitchen and opted for a wall-mounted hood that not only improved air circulation but also became a stylish statement piece in her home.
Tools and Materials Needed for Installation
Before diving into the installation process, gather the essential tools to ensure a smooth experience. You will need a drill, screwdriver, measuring tape, and a level for alignment. Additionally, having a stud finder can help locate wall studs for secure mounting. Other materials required include ducting, screws, brackets, and possibly a power supply if your hood requires hardwiring. Don't forget to wear safety gear such as gloves and goggles to protect yourself during the installation. Preparing your workspace and having all necessary materials on hand will save you time and frustration later on.
Step-by-Step Installation Process
Now that you have your tools and materials ready, it's time to embark on the installation journey. Follow these detailed steps to install your stove hood successfully.
Preparation Steps
The first step is to measure and mark the installation area. Use your measuring tape to determine the ideal height for the stove hood, typically 24 to 30 inches above the cooking surface. Ensure you check for any electrical connections in the vicinity and that there is adequate clearance above the stove to avoid any hazards. A friend of mine learned the hard way that forgetting to check for electrical wires can lead to delays and added complications, so make sure this step is not overlooked.
Mounting the Stove Hood
Once you've prepared the area, it's time to mount the stove hood. Securely attach the mounting brackets to the wall or under the cabinets, ensuring they are properly aligned and leveled. If you are mounting a wall-mounted hood, you may need to drill into the studs for added support. It's crucial to double-check your measurements during this step; a crooked installation can detract from the overall aesthetics. Use a level to confirm that the hood is straight before tightening all screws.
Connecting Ductwork
With the hood mounted, proceed to connect the ductwork. If your stove hood requires external ventilation, attach the ducting to the exhaust outlet of the hood, ensuring a snug fit to minimize air leaks. Use duct tape to seal any gaps. If adjustments are needed, consider using duct elbows to navigate around obstacles. Properly sealing the ductwork is essential for efficient airflow and performance.
Final Setup and Testing
After connecting the ductwork, finalize the installation by connecting the stove hood to the power supply. If your hood is hardwired, this step may require an electrician. Once everything is connected, turn on the power and test the functionality of the stove hood. Check for proper suction and ensure the lights are working. This is a crucial moment, as it confirms that all your hard work has paid off. Enjoy the satisfaction of a job well done as you admire your newly installed stove hood!
Enhancing Your Kitchen with a Stove Hood
In conclusion, installing a stove hood can significantly enhance both the functionality and appearance of your kitchen. By understanding the different types of hoods, gathering the necessary tools, and following the step-by-step installation process, you can achieve a successful outcome. A properly installed stove hood not only improves air quality but also elevates the overall cooking experience. So, whether you're a DIY novice or an experienced handyman, don't hesitate to take on this rewarding project for your kitchen transformation!