XTEN-AV is at the forefront of AV design solutions, helping both professionals and enthusiasts create perfectly aligned projector setups. A common problem many users face is a blurry image. Whether it is for a home theater, office presentation, or classroom setup, a blurry projection can ruin the viewing experience. Understanding projector placement is key to solving this issue.
Understanding Why Projectors Get Blurry
Before diving into calculations, it is important to identify why your projector is blurry. Common reasons include incorrect focus, wrong throw distance, poor lens quality, or even room lighting. Keywords like why is my projector blurry, projector blurry, and my projector is blurry are searches that reflect a common concern among users. The main culprit in many cases is improper placement.
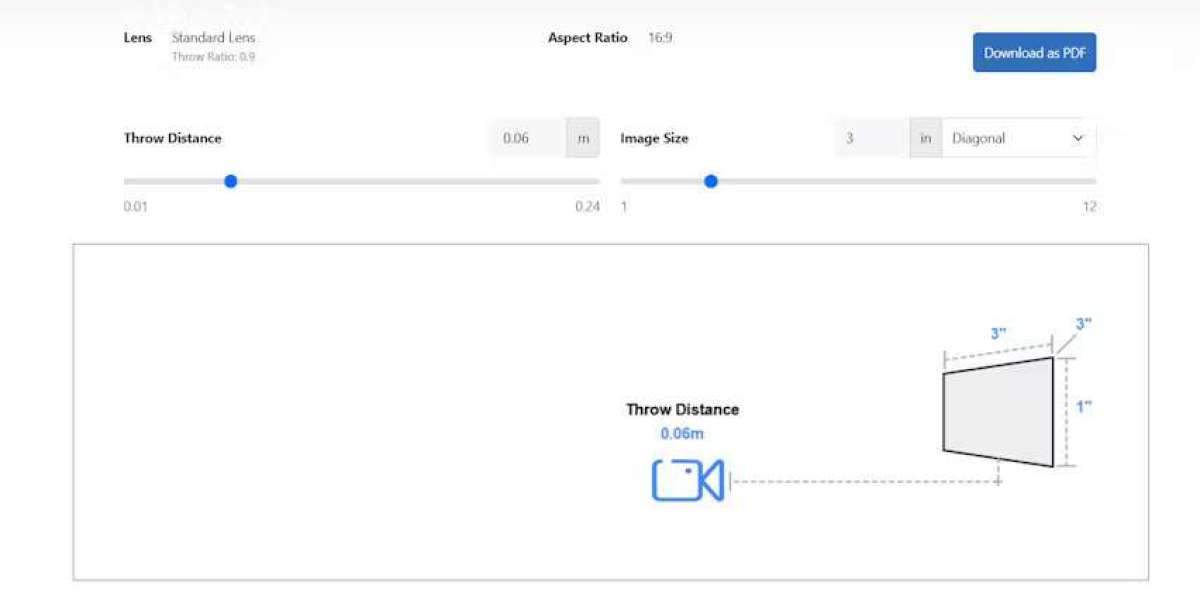
Step 1: Know Your Projector Specs
Each projector comes with a specific throw ratio. The throw ratio determines the distance needed to project a certain image width. For example, a projector with a 1.5:1 throw ratio needs to be 1.5 meters away from the screen to produce a 1-meter-wide image. To prevent blur, always check your projector’s manual for its throw ratio and recommended image size.
Step 2: Measure Your Room
Measure the distance from where you want the projector to sit to the screen. Take into account ceiling mounts, wall brackets, or table placement. The room layout influences the clarity of your image because an incorrect distance can result in an out-of-focus or blurry picture.
Step 3: Calculate the Placement
Once you have the throw ratio and desired image width, use this formula:
For instance, if your screen width is 2 meters and your projector’s throw ratio is 1.5, the projector should be 3 meters away from the screen. Correct placement ensures that the image stays in focus, reducing blurriness.
Step 4: Fine-Tune the Focus
After positioning the projector at the calculated distance, adjust the focus ring slowly while projecting a test image. If the image remains blurry even at the correct distance, check the lens and screen alignment. Many users wonder how to fix blurry projector when they are at the right distance. Usually, a small adjustment to the lens angle or height resolves the issue.
Step 5: Consider Keystone and Lens Shift
If your projector is ceiling-mounted or placed at an angle, keystone correction or lens shift features can help. However, excessive keystone correction can introduce blur, especially at the corners. It is better to physically adjust the projector position rather than rely solely on digital corrections.
Step 6: Test and Adjust
Finally, project different types of content to ensure clarity across the screen. Text-heavy slides, high-definition videos, and images should all remain sharp. If you still notice a blurry image, double-check that the lens is clean and the focus mechanism is not loose.
Conclusion
Proper calculation of projector placement is the first and most crucial step to eliminate blur. Using these steps with XTEN-AV’s tools ensures that your projector delivers a crisp, clear image every time. By understanding throw ratio, measuring your room accurately, and fine-tuning focus and alignment, you can prevent blurry projections in any setting.
Read more: https://avsyncstudio.wordpress.com/2025/10/13/how-to-minimize-blur-from-keystone-distortion/