Choosing the right shower tray can make your bathroom look sharper, feel safer, and perform better for years. But with so many styles, materials, and sizes available, it’s easy to end up with the wrong tray—or a poorly installed one that squeaks, flexes, or leaks.
This practical guide is written for homeowners, landlords, and installers who want a straight-talking overview of buying, fitting, and maintaining shower trays. It also covers popular sizes like 1600x800 and the growing demand for safer, textured anti-slip options.
If you’re shopping for quality shower trays, browse shower trays uk retailers and compare shapes, profiles, and finishes before you commit.
Why the Shower Tray Matters More Than People Think
A shower tray isn’t just the “base” of your shower—it’s a structural and waterproof component that must:
- Support body weight without flexing
- Maintain correct fall to the waste
- Seal reliably against walls and enclosures
- Resist staining, scratching, and daily heat changes
A good tray installed correctly should last a long time with minimal attention. A poor tray—or a great tray installed badly—can lead to movement, cracked grout, damp, and costly remedial work.
Types of Shower Trays Available in the UK
When browsing options, you’ll generally see a few key tray types:
1) Stone resin / cast stone trays
Often chosen for strength and a premium feel. They tend to be rigid and stable, which helps reduce flex and movement.
2) Acrylic capped trays
Typically lightweight and budget-friendly. They can be excellent, but quality varies. Some need extra care during installation to avoid flex.
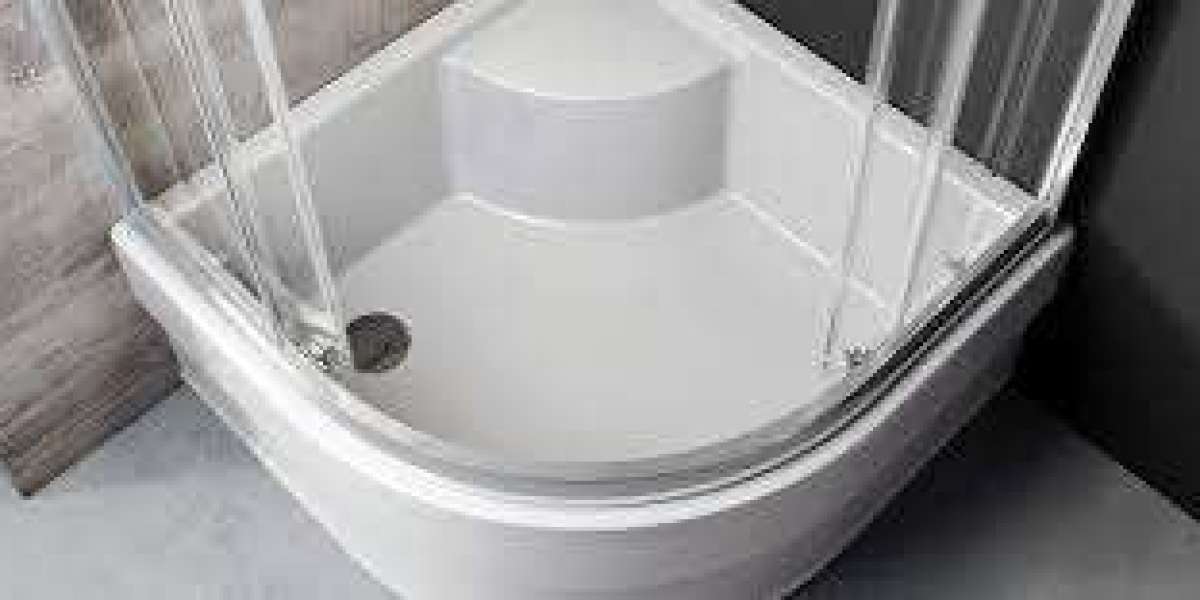
3) Low-profile and ultra-low profile trays
Designed for modern bathrooms and a sleek threshold. Great for accessibility and aesthetics, but they require careful attention to floor level and waste positioning.
4) Raised / high-profile trays
These sit higher and can help where waste pipes cannot be recessed into the floor. They’re common in certain retrofits and upstairs installs.
Choosing the Right Size (And Why 1600x800 Is So Popular)
One of the most frequent bathroom upgrade goals is “make the shower bigger.” A larger tray can transform the experience—especially in family bathrooms where showers see constant use.
A standout option for bigger walk-in setups is 1600x800 shower trays. This size is popular because:
- It offers generous standing space
- It works well with sliding or walk-in shower screens
- It suits longer bathroom layouts (common in UK homes)
- It can create a hotel-style look when paired with a large glass panel
Before purchasing, measure carefully and consider door swing, screen position, and whether the bathroom has enough length for the enclosure or wet-room style screen you want.
Shape Matters: Rectangular, Square, and Quadrant
Shower trays come in several shapes, and the best choice depends on space and layout:
- Rectangular trays maximise showering area and suit walk-in screens
- Square trays suit compact bathrooms and corner installations
- Quadrant trays are ideal for saving space while keeping good internal room—great in en-suites
If your bathroom is tight, choosing the right shape can be more effective than just going bigger.
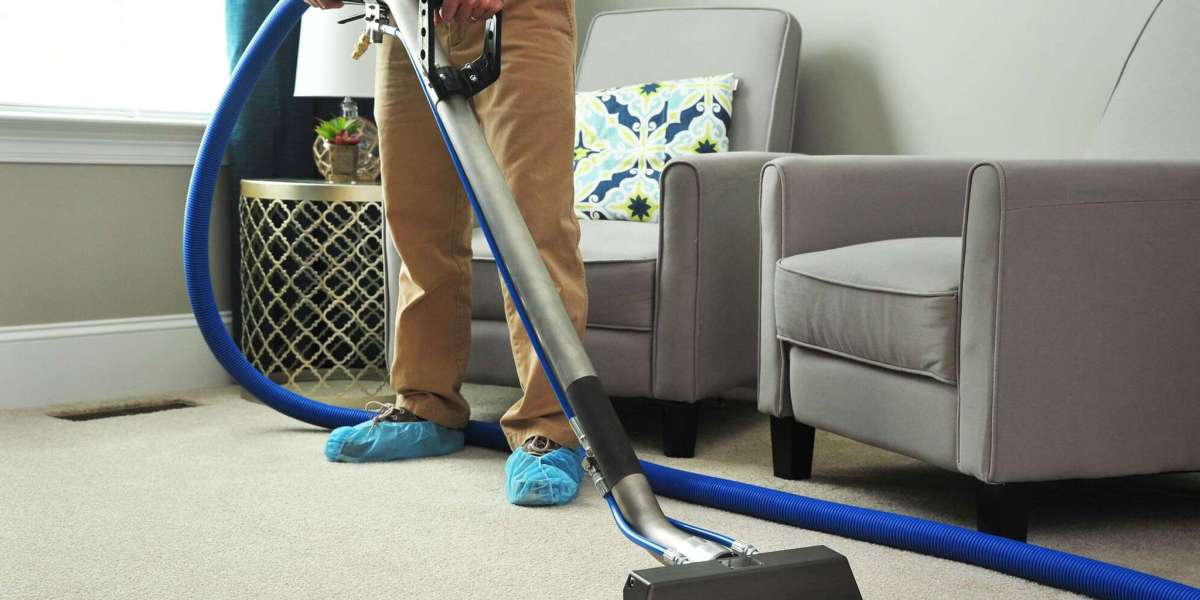
Fitting Shower Trays: What to Know Before You Start
Whether you DIY or hire a professional, is a job that rewards precision. The most common tray-related issues—movement, leaks, slow drainage—usually come from poor preparation, not the tray itself.
Key considerations before installation
1) Floor condition and level
The subfloor must be strong, stable, and level. A tray installed on an uneven surface can rock or flex, which breaks seals and stresses joints.
2) Waste position and access
Confirm where the waste sits and how it will connect to existing pipework. Some installations need access panels or removable plinths, especially in upstairs bathrooms.
3) Tray support method
Depending on tray design, you may install:
- On a bed of mortar/adhesive (for full support)
- On adjustable legs with a plinth
- Using manufacturer-approved installation kits
A solid, evenly supported base is essential.
4) Wall preparation and waterproofing
If you’re tiling, ensure the backer boards, tanking, and wall surfaces are correct before the tray goes in. The tray-to-wall junction is the most critical seal line.
A Simple Step-by-Step Overview (Non-Technical)
While every product has its own instructions, the basic approach to fitting shower trays often looks like this:
- Dry-fit the tray to confirm size, orientation, and waste alignment
- Mark and prep waste connections
- Ensure the floor is level and clean
- Apply the correct bedding/support method (mortar, adhesive, or leg set)
- Lower the tray into place carefully
- Check level in multiple directions
- Connect the waste and test flow
- Seal tray edges after wall boarding/tiling as appropriate
- Water-test thoroughly before final enclosure fitting
If you’re not confident, get a qualified installer—because water damage is one of the most expensive household problems to fix.
Fix Shower Trays: Common Problems and Practical Solutions
Even a well-installed shower tray can develop issues over time—especially in high-use homes or rental properties. The key is knowing what can be repaired and what should be replaced.
If you need to fix shower trays, these are the most common scenarios:
1) The tray moves or squeaks
Likely causes:
- Insufficient support underneath
- Loose leg system or uneven adjustment
- Floor deflection
Possible fixes:
- Re-bedding the tray (in some cases)
- Strengthening the subfloor
- Re-leveling adjustable legs and ensuring full contact
Movement is not just annoying—it breaks silicone seals and can lead to leaks behind tiles.
2) Leaks around the tray edge
Likely causes:
- Failed silicone
- Gaps caused by movement
- Poor sealing sequence (sealed too early or on dusty surfaces)
Possible fixes:
- Remove old silicone fully
- Dry and clean surfaces thoroughly
- Re-seal using a quality sanitary silicone
- Address underlying tray movement first (otherwise the leak returns)
3) Slow drainage or smells
Likely causes:
- Partial blockage in trap
- Incorrect fall in waste pipe
- Poorly seated waste fitting
Possible fixes:
- Clean the trap and hair catchers
- Check for pipework fall issues
- Re-seat or replace waste components if required
When replacement is the better option
If the tray is cracked, severely warped, or has persistent movement due to structural issues, replacement can be the safest long-term answer—especially if the bathroom is being refreshed anyway.
Non-Slip Shower Trays: Safety Without Compromising Style
Bathrooms are slip-risk zones—especially for children, older adults, and anyone with reduced mobility. That’s why demand is rising for that include textured surfaces, anti-slip coatings, or naturally grippier materials.
Who benefits most from non-slip trays?
- Families with young kids
- Elderly users or those with balance concerns
- Homes with smooth, polished tile floors
- Rental properties where long-term safety matters
What to look for in non-slip trays
When choosing non slip shower trays, consider:
- A textured or slip-resistant standing area (not just a marketing label)
- Easy-clean properties (anti-slip should not mean “hard to maintain”)
- Compatibility with your enclosure and screen